- Posted on
- admin
- No Comments
Backstage Tutorial for Beginners
This Backstage tutorial for beginners covers installation, running your first instance, registering a component, TechDocs, and templates.
If you already know what Backstage is and why organizations adopt it, this tutorial is where you actually build one. We’re going to scaffold a real Backstage app, run it locally, register your first service in the catalog, add documentation through TechDocs, and create a basic Software Template. By the end, you’ll have a working local instance and enough hands-on experience to start customizing it for your own team.
If you haven’t read the conceptual overview yet, our What is Backstage in DevOps guide covers the catalog, plugins, and templating concepts in more depth than we’ll have room for here. This tutorial assumes you’re roughly familiar with those terms and focuses on actually building something.
What You’ll Need
This Backstage tutorial is built to run entirely on your own machine, no cloud account or paid tier required. You’ll need:
- Node.js (a current LTS version) and either Yarn or npm
- Git, and a free GitHub account (used for the catalog integration steps)
- Docker, optional, only needed if you want to run Backstage’s Postgres database in a container rather than the default in-memory SQLite
- About 45 minutes
Step 1: Scaffolding Your First Backstage App
Backstage provides an official CLI for generating a new application with sensible defaults. Run:
npx @backstage/create-app@latestYou’ll be prompted for a name for your app, backstage-tutorial works fine. This command scaffolds a complete Backstage application, including both the frontend and backend, into a new folder with that name. It also installs all necessary dependencies, which can take a few minutes the first time.
Once it finishes, move into the new folder:
cd backstage-tutorialStep 2: Running Backstage Locally
Start the app in development mode:
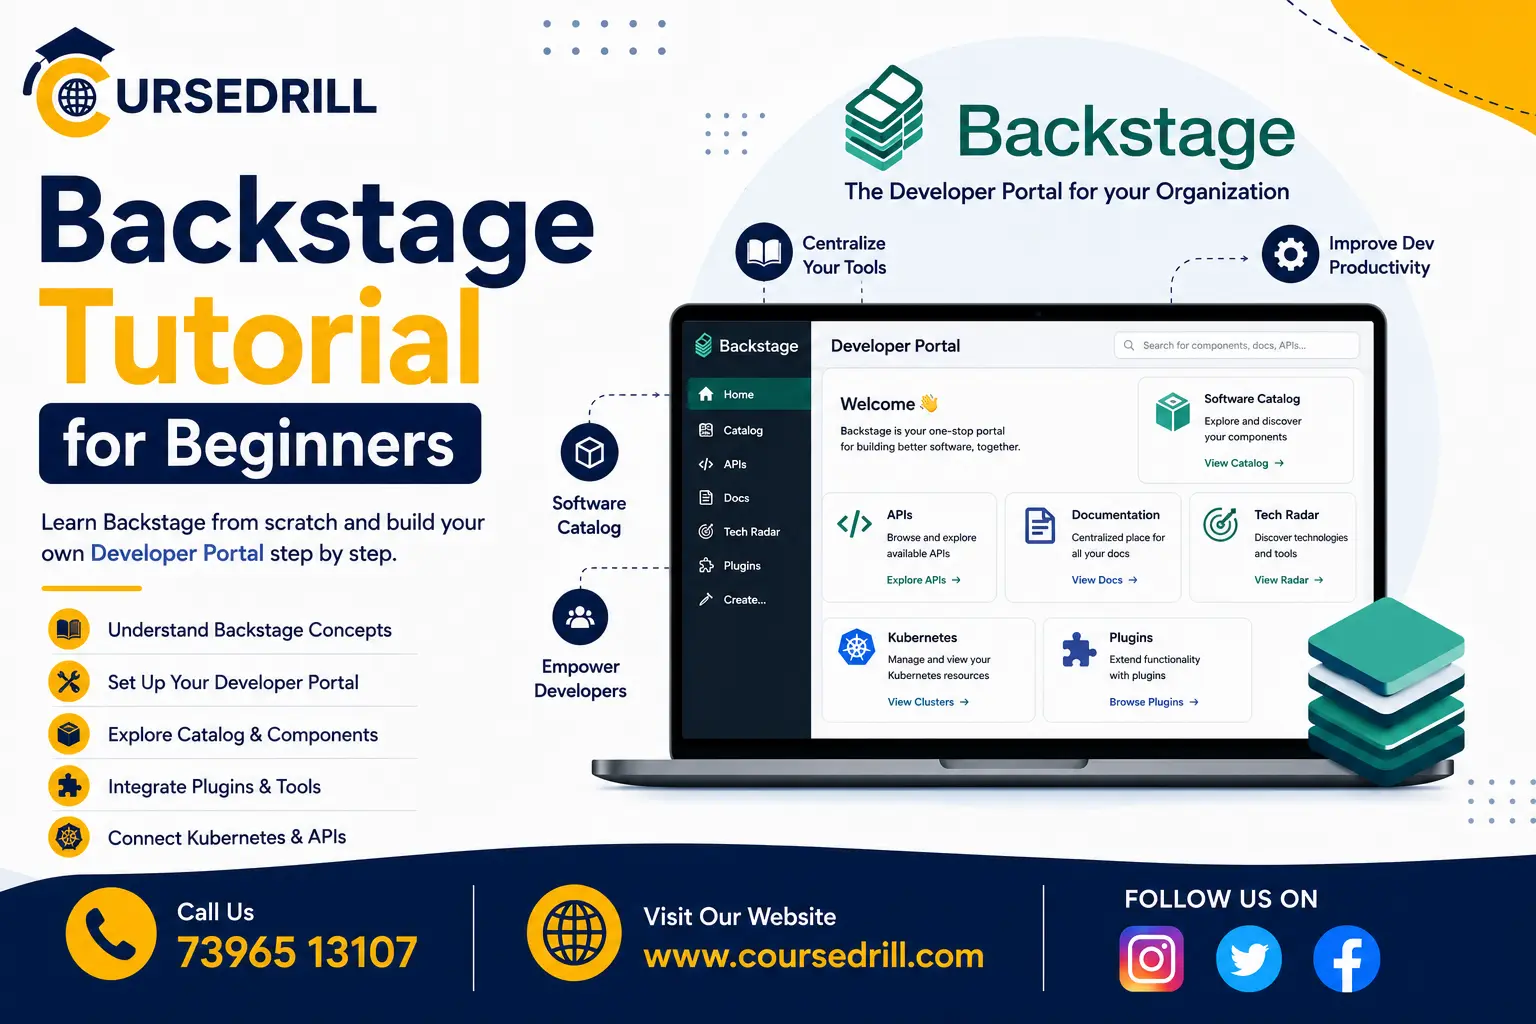
yarn devThis starts both the frontend and backend, and after a short wait, should automatically open http://localhost:3000 in your browser. You’ll see Backstage’s default UI, including a sidebar with Catalog, APIs, Docs, Create, and Search, along with a small set of example entities pre-populated so you’re not starting from a completely empty catalog.
Spend a minute clicking through the default catalog entries. This gives you a feel for what the finished product looks like before you start adding your own content.
Step 3: Understanding the Project Structure
Before registering your own content, it helps to know where things live in the scaffolded project:
backstage-tutorial/
├── packages/
│   ├── app/        # Frontend React application
│   └── backend/     # Backend services (catalog, search, auth, etc.)
├── app-config.yaml  # Main configuration file
└── catalog-info.yaml # Backstage's own self-description entity
app-config.yaml is the file you’ll return to constantly, it controls integrations, catalog locations, authentication providers, and most other configuration. catalog-info.yaml at the project root is actually Backstage describing itself as a catalog entity, a small example of the same pattern you’re about to use for your own services.
Step 4: Creating Your First Catalog Entity
Real catalog entities typically live inside the repository they describe. For this tutorial, create a new, separate GitHub repository (a simple public one works fine) to represent a service you’re registering, and add a catalog-info.yaml file to its root:
apiVersion: backstage.io/v1alpha1
kind: Component
metadata:
  name: hello-world-service
  description: A simple example service for learning Backstage
  annotations:
    github.com/project-slug: your-username/hello-world-service
spec:
  type: service
  lifecycle: experimental
  owner: guests
Commit and push this file to your repository. Note the owner: guests value, Backstage ships with a default guests group in its example data, which is a convenient placeholder while you’re learning, before you set up real teams.
Step 5: Registering the Entity in Backstage
Back in your running Backstage instance, click “Create” in the sidebar, then “Register Existing Component.” Paste in the URL to your catalog-info.yaml file (the raw GitHub URL, or the file’s GitHub page URL, both work). Backstage will parse the file and show you a preview of what it’s about to register.
Click “Import,” and you’ll be taken directly to your new component’s page in the catalog, showing its name, description, owner, and a set of tabs (Overview, CI/CD, API, Dependencies) that fill in as you add more integrations. You’ve just added your first real entity to the catalog, and it’s now searchable and discoverable through Backstage’s UI, the same as any of the default example entities.
Step 6: Adding a Group and Setting Real Ownership
Using guests as an owner works for a first test, but real catalogs need real teams. Add a second file to the same repository, team.yaml, to define an actual owning group:
apiVersion: backstage.io/v1alpha1
kind: Group
metadata:
  name: platform-team
  description: Owns internal tooling and developer experience
spec:
  type: team
  children: []
You’ll also need to register this file the same way you registered the component (via “Register Existing Component,” despite it being a Group rather than a literal component, Backstage’s import flow handles any valid entity kind). Once registered, update your catalog-info.yaml‘s owner field to platform-team and re-register (or wait for Backstage’s periodic refresh, depending on your configuration) to see the ownership update reflected.
Now clicking on your component’s owner takes you to a real team page, and clicking that team shows every entity they own, exactly the kind of ownership visibility that makes a catalog useful at real organizational scale.
Step 7: Adding Documentation with TechDocs
TechDocs needs a small amount of additional configuration to render documentation for your component. First, add an mkdocs.yml file to your example repository’s root:
site_name: 'hello-world-service'
nav:
  - Home: index.md
plugins:
  - techdocs-core
Then create a docs/index.md file with some basic content:
# Hello World Service

This service exists purely for learning Backstage's TechDocs feature.

## Getting Started

Clone the repository and run `npm install` to get started locally.
Finally, add a TechDocs annotation to your catalog-info.yaml:
metadata:
  name: hello-world-service
  annotations:
    backstage.io/techdocs-ref: dir:.
Commit and push these changes. Back in Backstage, navigate to your component and click the “Docs” tab. Depending on your local setup, TechDocs may need a local generator running (techdocs-cli can build docs locally for development), but once configured, this tab renders your Markdown documentation directly inside Backstage, right next to the rest of the service’s catalog information, rather than living in a disconnected wiki somewhere else.
Step 8: Creating a Software Template
No Backstage tutorial is complete without covering the scaffolder, since it’s arguably the feature with the most day-to-day impact on developer adoption. Software Templates are what let developers self-service create new, correctly structured components instead of copying an existing repository by hand. Create a new file, template.yaml, in a new repository (or a templates/ folder in an existing one):
apiVersion: scaffolder.backstage.io/v1beta3
kind: Template
metadata:
  name: simple-service-template
  title: Simple Service
  description: Scaffolds a basic service with a catalog-info.yaml already configured
spec:
  owner: platform-team
  type: service
  parameters:
    - title: Service Details
      required:
        - name
      properties:
        name:
          title: Service Name
          type: string
          description: Unique name for the new service

  steps:
    - id: fetch
      name: Fetch Base Template
      action: fetch:template
      input:
        url: ./content
        values:
          name: '{{ parameters.name }}'

    - id: publish
      name: Publish to GitHub
      action: publish:github
      input:
        repoUrl: 'github.com?owner=your-username&repo={{ parameters.name }}'

    - id: register
      name: Register in Catalog
      action: catalog:register
      input:
        repoContentsUrl: '{{ steps.publish.output.repoContentsUrl }}'
        catalogInfoPath: '/catalog-info.yaml'
This template, once registered the same way you registered your component earlier, appears under Backstage’s “Create” page. A developer filling it out provides a service name, and Backstage fetches a base template’s contents, publishes a brand-new GitHub repository from it, and automatically registers the resulting catalog-info.yaml in the catalog, all without any platform team involvement for that individual request. Building out the ./content folder referenced in the fetch:template step (with your own boilerplate and a templated catalog-info.yaml inside it) is what actually defines what gets scaffolded, and is worth exploring once you’re comfortable with the basic flow covered here.
Step 9: Adding a Plugin
Most of Backstage’s functionality beyond the core catalog comes from plugins. As a lightweight example, here’s the general pattern for installing one (using a commonly referenced example plugin):
yarn --cwd packages/app add @backstage/plugin-exampleAfter installing, you typically need to register the plugin’s routes in packages/app/src/App.tsx and, depending on the plugin, add corresponding backend configuration in packages/backend. Exact steps vary by plugin, most published plugins include their own setup instructions in their README, which is worth reading directly rather than assuming every plugin follows an identical installation pattern.
This is the mechanism through which Backstage grows from a bare catalog into a genuinely comprehensive developer portal, incrementally adding whichever plugins are relevant to your organization’s actual tools, CI/CD dashboards, cost visibility, Kubernetes status, and so on.
Common Beginner Mistakes
A handful of mistakes come up repeatedly for people setting up their first Backstage instance.
Forgetting to commit catalog-info.yaml before trying to register it. Backstage reads this file directly from your repository, so registration will fail (or import an empty preview) if the file hasn’t actually been pushed yet.
Using inconsistent owner values that don’t match a registered Group entity. If you set owner: platform-team before actually registering a platform-team Group entity, Backstage will show the owner as an unresolved reference rather than linking to a real team page.
Not understanding that guests is a placeholder, not a real solution. It’s fine for a first tutorial, but production catalogs need real ownership data tied to actual teams and, eventually, real authentication so ownership reflects your actual organization.
Assuming TechDocs works with zero configuration. TechDocs requires the mkdocs.yml file, the docs/ folder, and the correct annotation in catalog-info.yaml, missing any one of these results in a docs tab that doesn’t render anything.
Trying to build a fully custom, heavily plugin-loaded instance before understanding the basics. It’s tempting to immediately try wiring up a dozen integrations. Getting comfortable with the catalog, a single registered component, and basic TechDocs first will make every subsequent plugin and customization far easier to reason about.
Best Practices Once You’re Past the Basics
- Set up real GitHub (or your Git provider) integration early, rather than relying only on manual “Register Existing Component” imports, since automatic discovery scales far better than manual registration as your catalog grows.
- Establish
catalog-info.yamlas a required file in new repository templates from day one, so cataloging becomes a default part of creating any new service rather than an afterthought applied inconsistently later. - Invest in Software Templates early, since they’re one of the highest-leverage features for actually driving adoption, developers are far more likely to use Backstage regularly if it’s also the easiest way to correctly start a new project.
- Keep TechDocs content close to the code it documents, updating docs in the same pull request as the code changes they describe, which is the entire point of the docs-as-code approach.
- Assign a real owning team to every entity, resisting the temptation to leave things under a placeholder
guestsowner past initial testing.
Frequently Asked Questions
Do I need a real production server to follow this tutorial? No. Everything here runs locally with yarn dev, using SQLite by default rather than a production Postgres database. Moving to a real deployment involves additional configuration for a persistent database and authentication, covered in Backstage’s deployment documentation.
Can I use GitLab or Bitbucket instead of GitHub? Yes. Backstage supports multiple source control integrations. The specific annotation keys and integration configuration differ slightly by provider, but the overall catalog and TechDocs workflow covered in this tutorial applies the same way.
Why isn’t my TechDocs tab showing any content? This is almost always a missing piece of the required setup: the mkdocs.yml file, the docs/index.md file, or the backstage.io/techdocs-ref annotation in catalog-info.yaml. Double-check all three are present and correctly committed.
Do I need to write my own plugins to get real value from Backstage? Not necessarily at first. Backstage’s plugin marketplace covers many common integrations already. Custom plugin development becomes relevant once you need to integrate with internal, organization-specific tooling that doesn’t have an existing community plugin.
How do real organizations handle authentication instead of the default guest access? Backstage supports several authentication providers (GitHub OAuth, Google, Okta, and others) configured in app-config.yaml. Production instances typically require real sign-in, which also enables more accurate, automatic ownership and permission handling tied to actual user identities rather than the default guest experience used in this tutorial.
Is this tutorial’s setup something I could actually roll out to my team? It’s a genuine starting point, but a real rollout typically needs a persistent database, real authentication, an established catalog-info.yaml convention across your repositories, and ongoing platform team ownership. This tutorial gets you the working fundamentals; scaling it to a full organization is a larger, ongoing project.
Wrapping Up
That’s the full arc of this Backstage tutorial for beginners. You’ve now built a real, working Backstage instance: a registered component, a real owning team, working documentation through TechDocs, and a Software Template capable of scaffolding new services on demand. More importantly, you’ve seen how each of Backstage’s core pieces, the catalog, TechDocs, the scaffolder, and plugins, fit together into the single, unified developer portal experience the platform is built around.
From here, the natural next steps are setting up real source control integration for automatic catalog discovery, configuring real authentication, and gradually building out the specific plugins and templates that match your own organization’s actual tools and conventions. All of them build directly on the foundation you just built here.
For the conceptual foundation behind everything covered in this tutorial, revisit our What is Backstage in DevOps guide. For deeper technical reference as you keep building, the official Backstage documentation covers plugin development, authentication providers, and production deployment in far more depth than a single tutorial can.
Popular Courses